solvanex Logo solvanex Contact Us
Contact Us
Sewing supplies including needles, thread spools, scissors, and measuring tape arranged on fabric

Basic Sewing Techniques You'll Actually Use

Hand sewing fundamentals that form the foundation for everything else

9 min read Beginner April 2026
Antra Berzina, textile heritage specialist

Author

Antra Berzina

Senior Craft Educator and Textile Heritage Specialist

Textile heritage specialist with 17 years of experience in traditional Latvian crafts and sustainable fiber practices.

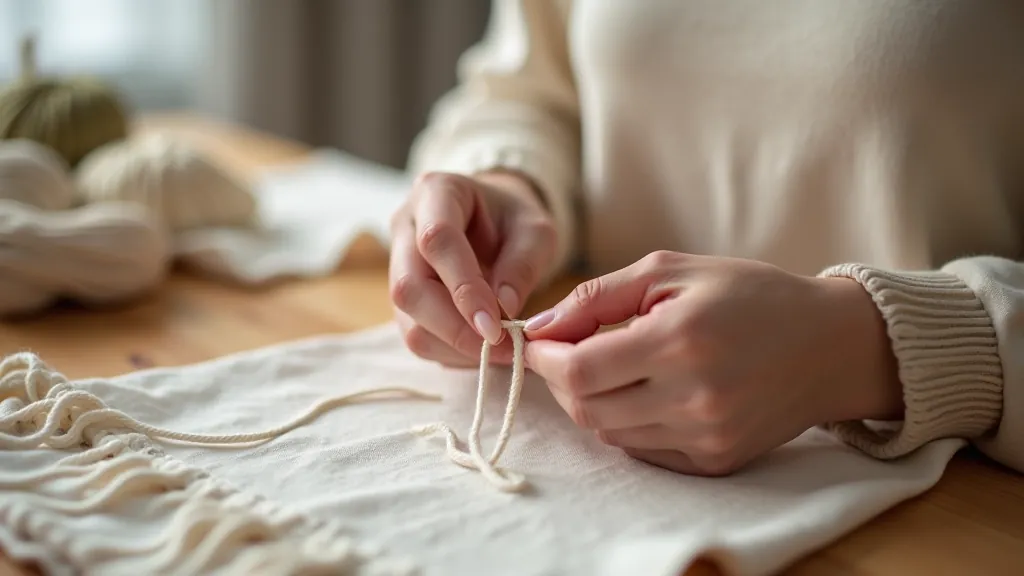
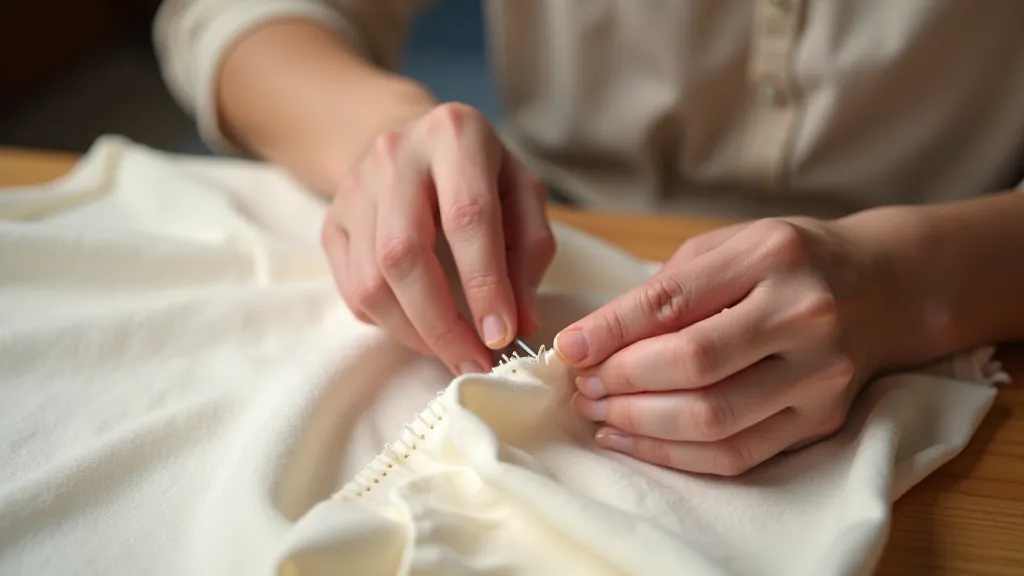
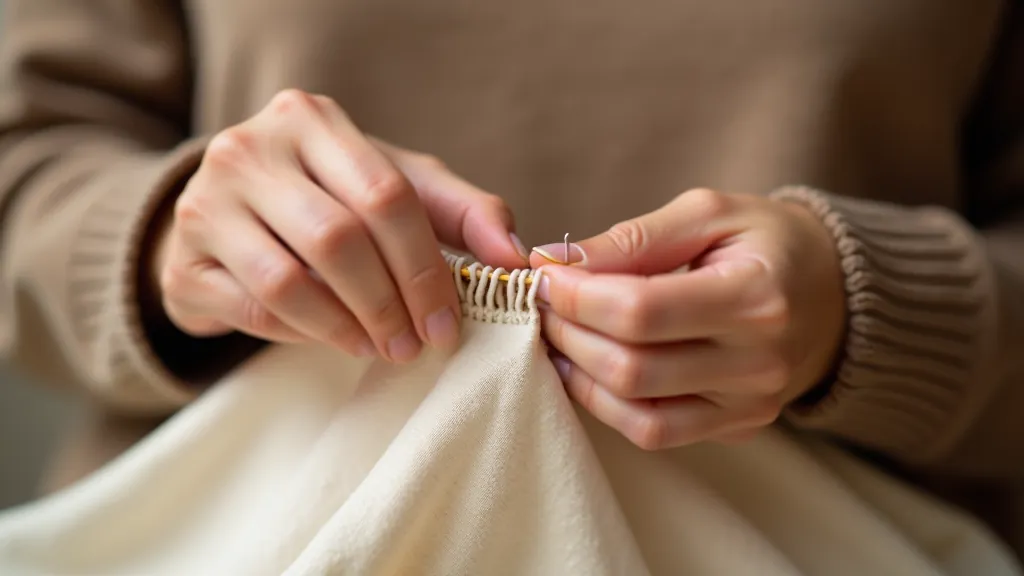
Why These Three Stitches Matter

When you're starting with hand sewing, it's tempting to learn everything at once. But here's the thing — you don't need to. Three basic stitches will carry you through almost every project you'll encounter. The straight stitch, running stitch, and backstitch are the foundation. They're not flashy. They're not complicated. But they work.

Once you've got these down, you can tackle repairs, alterations, and small projects with confidence. You'll understand how fabric holds together. You'll know when a seam needs reinforcement and when it doesn't. Most importantly, you'll build the muscle memory that makes everything else feel easier.

Close-up of a hand holding a needle with thread through woven fabric, showing proper grip and positioning for hand sewing

The Straight Stitch

The straight stitch is your entry point. Thread goes in, comes out, goes in again. Simple. It's used for basic seams and repairs. When you're learning, use this stitch first. Aim for stitches that are roughly 3-4 millimeters apart — consistent spacing matters more than perfection.

The key is to keep tension even. Don't pull too tight or you'll pucker the fabric. Don't leave it loose or your seam will be weak. Find the middle ground. Practice on scraps of cotton first. You'll develop a feel for it after about 20 minutes of work.

Pro tip: Mark your line with a pencil before sewing. Straight lines look intentional. Wobbly lines look accidental.

Diagram showing the straight stitch technique with needle passing through fabric in a straight line, with measurements marked
Demonstration of running stitch technique showing multiple needle passages through fabric in quick succession

The Running Stitch

The running stitch is faster than the straight stitch because you make multiple stitches before pulling the thread through. It's the stitch you'll use most often — for seams, hems, and general construction. It's strong enough for most projects and quick enough that you won't lose your mind doing it.

Here's how it works: push the needle through the fabric, then rock it back and forth, loading 3-4 stitches onto the needle before pulling the thread tight. The stitches should be roughly equal in size — maybe 2-3 millimeters each. Consistency is what makes it look polished.

We've used this stitch on everything from traditional Latvian mittens to simple cotton bags. It's durable. It holds. That's really all you need from a stitch.

The Backstitch — Your Strongest Option

When you need something to hold, you use the backstitch. It's the strongest hand stitch. It's what you'd use to repair a tear that's going to get stress. It's what you'd use on a seam that needs to last.

The technique is different. You bring the needle up through the fabric, then push it back down through the end of the previous stitch, creating an overlap. Then you bring it up again ahead of where you are. It takes longer than the running stitch, but the result is a seam that's genuinely difficult to break.

Straight Stitch
Running Stitch
Backstitch
Backstitch technique showing overlapping stitches creating a strong reinforced seam line

Getting Started With Practice

Don't start on a project you care about. Seriously. Find scraps of cotton or linen — old sheets work fine. Grab a needle that feels comfortable in your hand and thread that matches so you can actually see what you're doing. Practice each stitch on separate pieces for about 15-20 minutes each.

You're looking for even spacing and consistent tension. It won't be perfect at first. Your stitches might be wobbly. Your tension might be uneven. That's completely normal. By the time you've done 50 stitches of each type, you'll notice the improvement. By 200 stitches, it'll feel natural.

Gather cotton scraps or old fabric
Get a comfortable needle and matching thread
Practice straight stitch for 15 minutes
Practice running stitch for 15 minutes
Practice backstitch for 15 minutes
Repeat daily until comfortable

You're Ready to Start

That's really it. You don't need fancy equipment. You don't need to understand textile engineering. You just need to know these three stitches and have the patience to practice them. Most people get comfortable within a week of casual practice.

Once you've got this down, you can move on to projects. Simple repairs. Hems. Maybe a small bag. Each project teaches you something new about how fabric behaves and what stitches work best for different materials. And you'll do it all with the confidence that comes from knowing your foundation is solid.

Educational Disclaimer

This article provides informational guidance on basic hand sewing techniques for educational purposes. Individual results and learning curves vary based on practice frequency, material choice, and personal experience. Techniques described are traditional methods that have been used for generations but may require adjustment based on your specific fabric types and project needs. Always test techniques on scrap fabric before working on final projects.